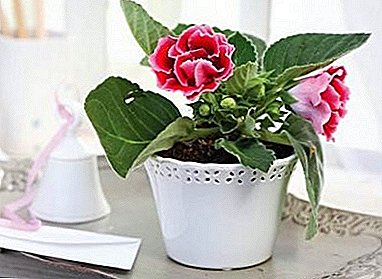
Gloxinia, a plant in the tropical Andes, is stored in nutrients in round tubers. After a spectacular and abundant flowering comes a period of peace, followed by a new flowering.
In order to “sleep” in the tuber and “wakefulness” in flowers alternated successfully, it is necessary, first of all, to protect gloxinia from rotting at all stages of planting.
Which pot is suitable?

The roots of this tuberous plant develop horizontally, so for gloxinia they choose pots whose width is greater than the height.
The size container should not be too bigso that excess wet soil does not become a source of fungal infections. Best of all, if the diameter of the pot is only 4-6 cm larger than the diameter of the tuber.
To ensure breathability, you should choose a landing capacity. from ceramics without a continuous layer of glaze.
Gloxinia flower: planting and care at home
Optimum ground
Basic requirements for the soil for gloxinia: moisture and air permeability, nutritional value, low acid reaction and sterility.
Suitable soil mix can be purchased at a flower shop - this ground for violetsrelated to gloxinia.
Options for self-made planting substrates:
- Planting gloxinia in vermiculite - on one part of the peat and leafy land with half of the sand or vermiculite;
- on one part of sod land, humus, sand and two parts of leaf humus.
Before planting, prepared soil is needed must be sterilized.
Tuber: diagnosis, preparation
A tiny sprout that emerged from the top recess of the tuber in February or March, less often - in January, signals the readiness for landing.
Tuber completely free from old soil and residues dried roots previous season. Carefully examine, revealing even the smallest signs of damage, rot or mold. If such damage is detected, affected areas are removedinjured places powdered with charcoal powder and give dry for a day.
If tuber sluggish, wrinkled, you need to saturate it with moisture: wrap in a damp cloth for 2-3 days or place for the same period in moistened (but not wet) vermiculite. The advantage of this substrate is its guaranteed sterility, sufficient moisture and environmental friendliness. If the sprouts are barely noticeable, you can completely fill the tuber with vermiculite. Formed sprouts should be left on the surface.
A tuber that does not germinate too longfollows to awaken. To do this, it is carefully inspected, remove possible damage, washed and placed in a plastic bag, at the bottom of which is a handful of moist light soil. Tightly tie this bag and put it in a very bright and very warm (from 24 to 26 degrees) place. Sprouts appear in about two weeks.
Fully finished to landing tubers are washedimmersed in the solution for 20-30 minutes fungicide or potassium permanganate, ensuring that the antiseptic does not fall on the tender shoots. You can also carry out pre-treatment root formation stimulator.
Effective drainage
All stages of planting gloxinia should minimize the risk of rotting: disinfect the environment and eliminate stagnant moisture. This task successfully performs significant drainage layer - small pebbles, expanded clay, polyfoam, ceramic paving with pieces of charcoal, which must be placed on the bottom of the pot.
Soil level
A characteristic feature of the development of gloxinia is the rapid growth of leaves - the roots grow much later. Therefore, it is necessary to water the planted tuber moderately and carefully, especially making sure that the water does not fall on the outlet of young foliage.
When a short stem is formed, the ground is filled so that it covers the tuber in about a centimeter layer.
How to transplant Gloxinia
Gloxinia is not grown in the old soil, even if it was stored in it. Held annual transplanting tuber into fresh fertile sterile soil.
Large velvety leaves with a wavy edge and brightly colored flowers, bells in abundance will form only timely and properly planted gloxinia. At all stages of planting, care must be taken to eliminate the main dangers: stagnant moisture and fungal infections.
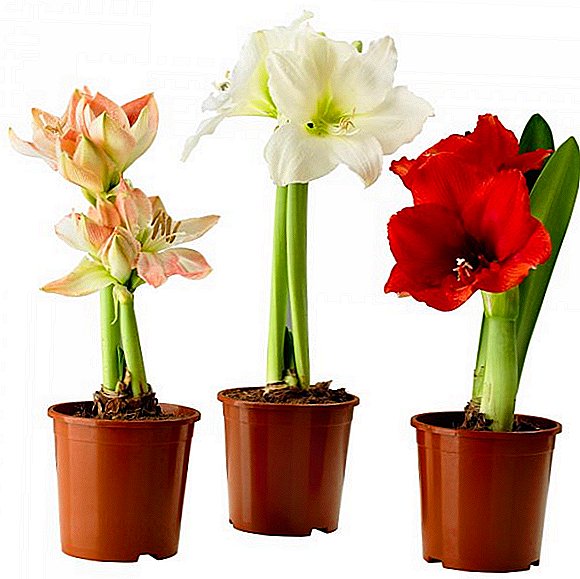
A photo
Next you can see the landing photos Gloxinia:


